



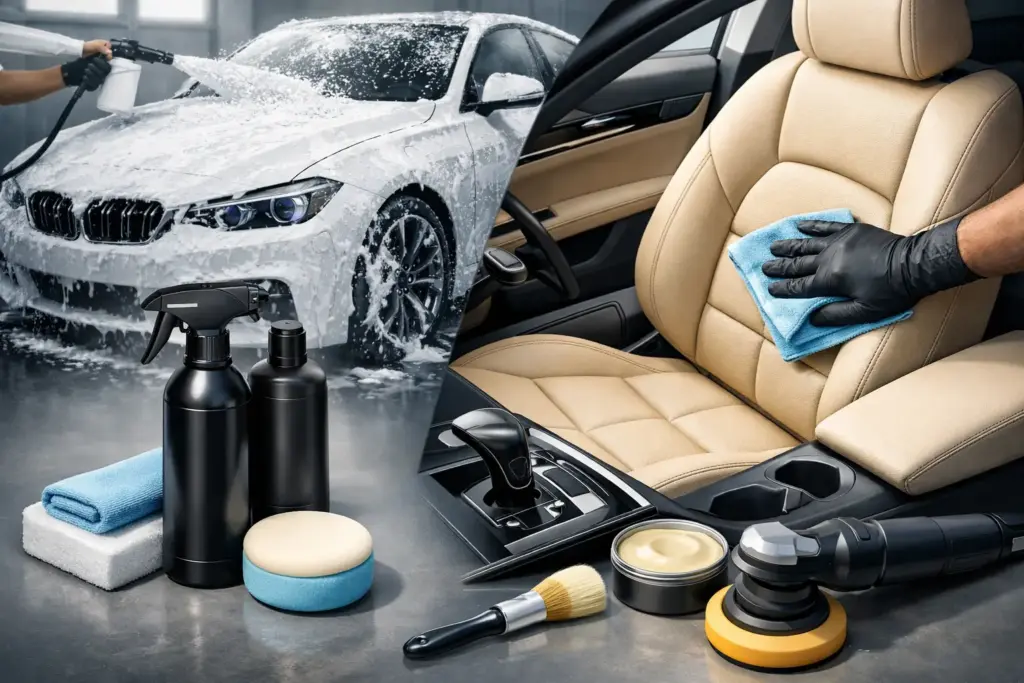
Leather seats often look clean until daylight reveals a darker driver’s bolster, a shiny steering wheel, and grime settled into stitching. A nahanpuhdistusaine autoon, meaning a leather cleaner for your car, is made to lift those contaminants without leaving the surface slippery, faded, or overly wet. The right product and method keep leather looking natural instead of artificially glossy.
For daily drivers, work vehicles, and carefully detailed weekend cars alike, leather cleaning is less about aggressive scrubbing and more about controlled cleaning. Remove body oils, sunscreen, dust, food residue, and denim transfer before they bond to the surface. Then protect the finish with a leather-safe conditioner or protectant when the material needs it.
What a Nahanpuhdistusaine Autoon Should Do
Most automotive leather is not bare, untreated hide. It usually has a protective topcoat that gives the surface its color, feel, and resistance to everyday dirt. That is good news for cleaning, but it also means a harsh degreaser, solvent, or household cleaner can damage the coating long before the leather itself looks dry.
A quality automotive leather cleaner should break down oily soil and everyday grime while staying safe for coated leather, dyed surfaces, and stitched panels. It should wipe away cleanly and leave a low-residue finish. Leather that looks shiny after cleaning is not necessarily clean – it may simply have cleaner residue, oil, or an overly glossy dressing on it.
Choose a product labeled for automotive leather and interior use. A ready-to-use cleaner is the simplest option for regular maintenance. Concentrated chemistry can make sense for a detailing shop, fleet operator, or reseller handling larger volumes, but dilution must follow the product instructions exactly. Stronger is not automatically better when working on an interior surface.
Know the Material Before You Clean
Not every seat that looks like leather should be cleaned the same way. Genuine leather, coated leather, synthetic leather, vinyl, suede, and Alcantara-style materials all respond differently to moisture and agitation. Check the vehicle manual if you are unsure, especially in premium interiors where multiple materials may be used on the seats, wheel, door panels, and dashboard.
Smooth coated leather is generally the most straightforward surface to maintain. Synthetic leather and vinyl often tolerate interior cleaners well, but still benefit from a product designed to leave no greasy film. Perforated leather needs extra care because excess liquid can settle below the surface. Spray the towel or brush rather than saturating the seat.
Suede and Alcantara-style upholstery are a separate job. Do not treat them with standard leather conditioner, and do not soak them with a typical leather cleaner. These materials require specialized upholstery or fabric-safe cleaning methods to avoid water marks, stiffness, and changes in texture.
Clean Leather Seats Without Overwetting Them
Good results come from working in small sections. Start with a cool interior, ideally out of direct sunlight. Heat can make product dry too quickly and cause uneven results. Vacuum seams, creases, perforations, and the gap between the seat cushion and backrest first. Grit left behind can scratch the surface when you begin wiping.
Start with a Hidden Test Spot
Test the cleaner on an inconspicuous area, such as the lower seat edge. Apply a small amount to a microfiber towel, wipe gently, and check for color transfer or a change in finish. This takes less than a minute and is especially worthwhile on older, repaired, recolored, or lightly dyed leather.
Apply Cleaner to the Tool, Not the Whole Seat
For light maintenance, apply the leather cleaner to a clean microfiber towel and wipe one panel at a time. Fold the towel frequently so you are not spreading removed soil back over the seat. Use a second, dry microfiber towel to buff away remaining moisture.
For heavier buildup, use a soft leather brush. Apply the cleaner to the brush or towel, then work it gently into the grain using short, controlled motions. The goal is to lift dirt from the texture, not to scour the finish. Wipe the loosened soil away immediately with microfiber.
The driver’s seat outer bolster, headrest, armrest, steering wheel, and shift knob usually need the most attention. Skin oils accumulate there quickly, and a darkened or shiny surface is often contamination rather than normal wear.
Keep Seams and Perforations Dry
Do not flood seams, buttons, seat controls, heated-seat openings, or perforations. Extra product does not improve cleaning power. It increases drying time and may leave residue in areas you cannot easily wipe. If cleaner gets into a perforation, blot it promptly with a dry microfiber towel.
Inspect Before Applying Protection
Once the surface is dry, inspect it from several angles. If the leather still feels tacky, looks blotchy, or shows visible soil in the grain, clean it again lightly rather than applying more conditioner. Protection belongs on a clean surface. Otherwise, you are sealing in the dirt you meant to remove.
When Leather Conditioner Helps – and When It Does Not
Leather conditioner has a place, but it is not required after every cleaning. Modern coated automotive leather often needs cleaning and surface protection more frequently than heavy conditioning. Overapplying a rich conditioner can leave seats slick, attract dust, and create unwanted shine on the steering wheel or seat bolsters.
Use a leather conditioner or protectant when the material feels dry, looks dull after cleaning, or needs added resistance to UV exposure and daily contact. Apply a thin, even layer with an applicator or microfiber towel, let it sit according to the directions, and buff off any excess. The correct finish should feel clean and natural, not oily.
Vehicles exposed to long summer sun, frequent winter temperature changes, pets, children, or high daily mileage may benefit from more regular protection. Still, the cleaning interval should depend on actual use. A garage-kept weekend car and a family SUV used every day have different maintenance needs.
Avoid These Common Leather Cleaning Mistakes
The fastest way to create unnecessary leather problems is using the wrong chemical because it is already in the garage. Strong all-purpose cleaners, dish soap, glass cleaner containing ammonia, alcohol-heavy products, bleach, and abrasive pads are poor choices for automotive leather. They may remove soil quickly, but they can also strip protective coatings, dry edges, fade dye, or leave permanent unevenness.
Do not use a magic eraser or other abrasive sponge on leather. It can cut through the finish, particularly on steering wheels and side bolsters. Avoid stiff brushes as well. A soft leather brush and microfiber towels give enough agitation for normal soil without turning a cleaning job into a repair job.
Another common mistake is confusing wear with dirt. Cracking, peeling, deep scuffs, and color loss will not disappear with a cleaner. In fact, repeated aggressive cleaning can make worn leather look worse. Clean the area gently, protect it, and consider professional repair or recoloring when the finish has failed.
A Practical Maintenance Schedule
For most cars, wipe down high-touch leather areas every few weeks or whenever you notice shine, darkening, or visible residue. Perform a more complete seat cleaning every three to six months. Vehicles used for rideshare, commercial transport, family driving, or frequent long-distance travel may need a monthly interior clean instead.
In winter, leather gets exposed to wet clothing, road salt residue, and dirt carried into the cabin. During summer, sunscreen, sweat, and heat become the bigger challenge. Address spills and fresh stains early. A small amount of the right cleaner used promptly is safer than letting contamination sit for months and then attacking it with heavy scrubbing.
For consistent results, keep a dedicated interior microfiber towel, a soft brush, and a leather-safe cleaner in your detailing kit. ClearShine Solutions Oy serves both vehicle owners and professional users with practical automotive cleaning chemistry in consumer and larger working sizes, making it easier to match the product quantity to the job.
Choosing the Right Cleaner for Your Vehicle
The best leather cleaner is not always the strongest one. For regular upkeep, choose a product that is easy to use, leaves no greasy residue, and is safe for coated automotive leather. For neglected seats, choose a cleaner that can be paired with gentle brush agitation rather than relying on harsh chemistry.
Think about how you use the vehicle. A light-colored luxury interior needs frequent low-aggression maintenance. A work truck may need more regular cleaning of the driver’s seat and steering wheel. A detailing business needs consistent chemistry, clear dilution guidance, and packaging that supports repeat work without interruption.
Clean leather should feel dry, look even, and retain its original matte or satin appearance. When you maintain that finish before dirt becomes visible, every drive starts with an interior that looks cared for rather than merely covered up.